
Quick renders in Fusion 360 — visual orientation for the client before production
Before anything is built, a quick render in Fusion 360 helps the client see what their piece will look like — material, proportions, lighting.
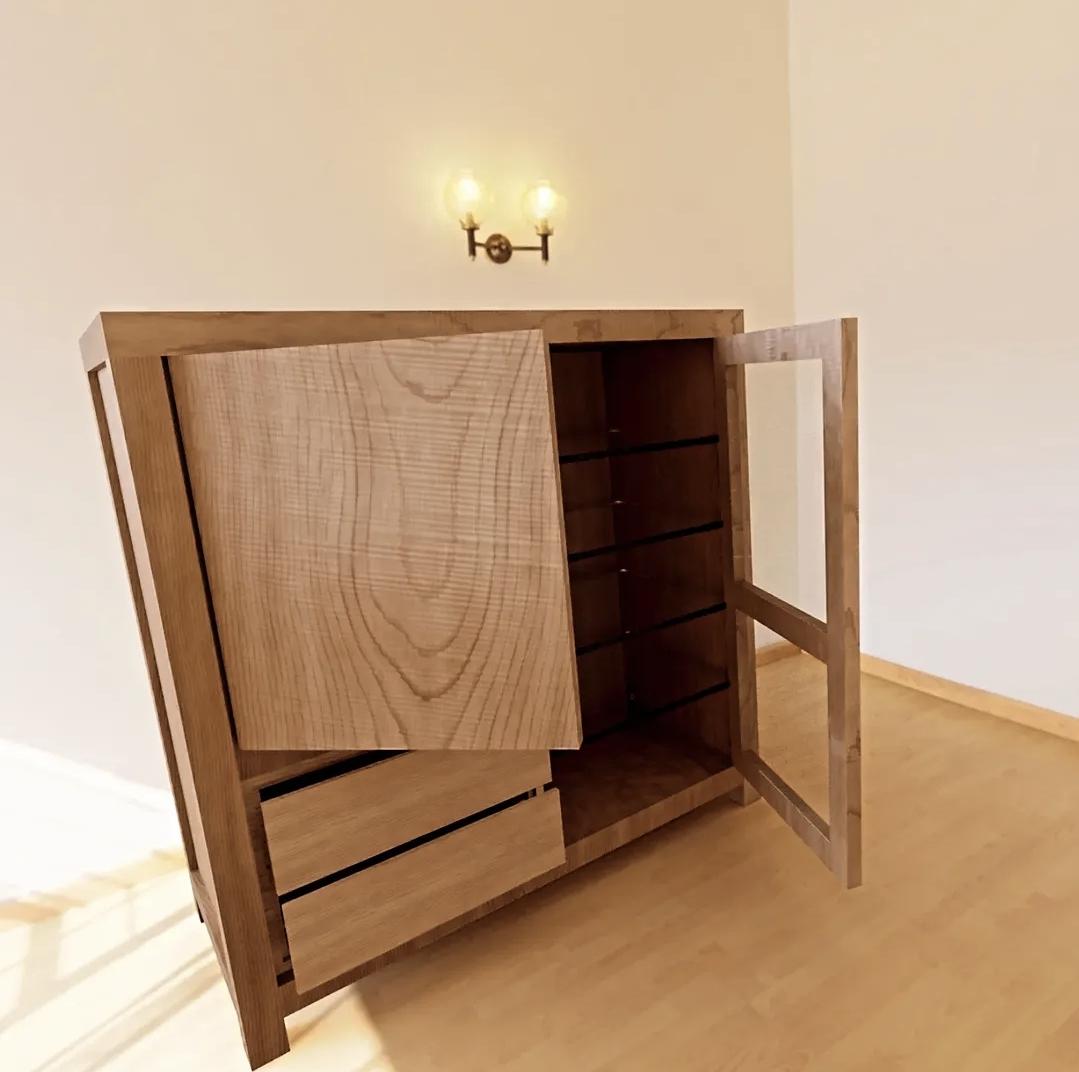
When a client orders a piece of furniture, a housing, a prototype or any custom 3D model, the biggest problem in communication isn't technical — it's visual. A technical drawing, a sketch, or the sentence "oak, darker tone, two doors and drawers" means something different to every person.
That's why, before production starts, I make a quick render in Fusion 360 — a visual orientation that shows the client how the finished piece will realistically look.
WHAT A QUICK RENDER IS
A quick render is a photorealistic image of a 3D model made inside Fusion 360. It's not the final marketing visualization that takes days in Keyshot or Blender — it's a working preview, 15 to 30 minutes, that answers:
- how the piece proportions look in the actual space,
- how the chosen material looks (oak, walnut, matte lacquer, glass),
- how doors and drawers open,
- how light falls on the wood grain,
- whether the design matches what the client imagined.
WHY IT MATTERS
1. The client sees before they pay. No guesswork — they see it. This removes the "I didn't expect this" moment after delivery.
2. Corrections happen in software, not in wood. If the client says "the doors should be wider" or "a lighter tone", that's five minutes on screen, not a new sheet of material.
3. Material and texture become tangible. Fusion 360 has a material library with realistic textures — wood, metal, glass, lacquer. The client can compare two or three variants before deciding.
4. Lighting reveals character. A wall lamp, daylight, LED strip — each highlights the grain and shadows differently. The render shows how the piece will "live" in the room.
HOW THE PROCESS LOOKS
The workflow is simple:
1. The client sends dimensions, a photo of the space, or a reference. 2. The model is built in Fusion 360 with real dimensions. 3. Materials and lighting are applied. 4. An in-canvas render (fast, local) or cloud render (higher quality, a few minutes) is run. 5. The client receives 2–4 images from different angles.
If something is off — it's changed, re-rendered, and the loop repeats until the image matches the actual intent.
WHAT THE CLIENT GETS
Images they can email, open on a phone, or show to a partner or interior designer. Not marketing-polished, but enough for everyone to be on the same page before any tool touches material.
WHEN IT MAKES SENSE
Quick renders make the most sense for pieces with visible wood grain, for complex mechanisms (sliding drawers, glass doors, curved surfaces) and for prototypes for injection molding or CNC machining, where a wrong proportion means wasted material.
If you're planning a build — get in touch, send dimensions and a reference, and before anything goes into production you'll have an image of what you're actually going to get.